Mobile App Development with Xamarin and MvvmCross – Part 2: Set up
T his article helps you with a set up for a project to create a mobile app with Xamarin and MvX. MvX projects/solutions can be created manually or with the help of the NinjaCoder plugin for VisualStudio. The result is the same in both cases.
Prerequisites
Before starting you should have installed the following tools:
- Android SDK: With the tools contained in the Android SDK (SDK Manager, Virtual Device Manager, Android Studio) you can download SDK of any version and start building native apps for Android right away. Xamarin does not require you to have a separate installation of the Android SDK (the Xamarin installer will install them if required), but even when developing cross-platform for mobile, it is never a bad idea to have the tools needed for native development in a well-known location.
- Xamarin with the help of the Xamarin installer: Xamarin will recognize installed Android SDKs automatically. Also, if you have VisualStudio installed, Xamarin will install itself as a plugin into VisualStudio.
- Visual Studio: Although Xamarin comes with its own IDE (Xamarin Studio, which is basically a reduced version of VisualStudio), I prefer working with VisualStudio as my default IDE, as it offers more possibilities. Also, if you (like me) work on Windows, Visual Studio is the only IDE that supports developing Xamarin.iOS applications, although it still requires a Mac as a build host.
The NinjaCoder plugin
NinjaCoder is a plugin which aims at eliminating a lot of the boilerplate code and repetitive steps needed when creating a Xamarin app with MvX (such as creating the view classes with their ViewModel counterpart for each screen). Solutions can be created by following a wizard, which allows selection of the target platforms, MvX plugins, Xamarin Components and so on. NinjaCoder creates a ready-to-start solution with the necessary projects (core project, UI projects, test project) already linked with each other and the required dependencies in place. New views can be added as needed, which will result in new view classes, a new ViewModel and a test class each time, without you having to create each of them manually. The NinjaCoder plugin can be best compared with a generator like Yeoman (if you come from web development).
In my opinion, using the NinjaCoder plugin is of finite benefit, because:
- even when using NinjaCoder you often need to make manual changes afterwards (new plugins or components, updating existing components and so on)
- creating the project structure and linking the projects together is not that much of an effort. NinjaCoder makes most sense at the very beginning of a new app to get you started quickly, but after that you will rarely find yourself using the plugin anymore.
- The plugin has proved to be very unstable in my case (with VisualStudio 2013) and often led to crashes of VS and left me with a corrupt solution afterwards.
For these reasons, I have stopped using the plugin some time ago, but that should not need to stop you from trying it out yourself.
Set up with NinjaCoder plugin
The NinjaCoder plugin is most useful if you know your target platforms in advance and you also have some idea of what your UI is going to look like. After installation the plugin is avaliable under Tool > NinjaCoder for MvvmCross. By selecting Add Projects a new solution is created or a new project is being added to an existing solution. The following steps will result in a solution with a core project (PCL project), two UI projects (one for Android and iOS) and a test project for unit tests. For each step there is an illustrating picture below.
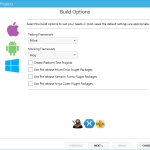
- Select your testing and mocking framework
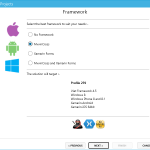
- select your app framework (we will work with MvvmCross, in the following articles, so make sure you select that one)
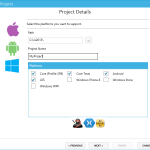
- enter project name and select target platforms
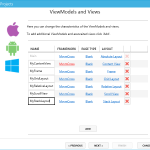
- if you already know some of your ViewModels and Layouts, you can choose them in this step. For each entry you add to the list there will be a View in each of the UI project, a ViewModel class in the core project and a test class in the test project. Additional views/ViewModels can be added later as required.
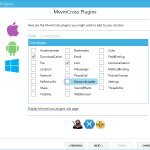
- select your desired MvvmCross-Plugins. Additional plugins may be added via NuGet package manager later.
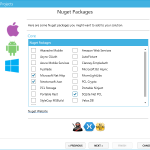
- select your desired NuGet packages. Additional packages can be added via NuGet package manager later.
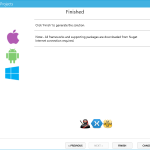
- Click finish
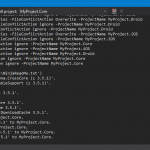
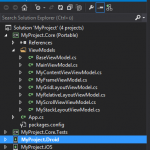
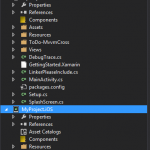
This will start creating the project structure and populate the project with some classes based on your seleciton in step 4. UI projects will be linked with the PCL project and the NuGet packages will be downloaded. The preset project names and directory structures can be changed later, but will initially be as follows (assuming you have named your project “MyProject” in step 3):
- MyProject.Core: PCL-Project for common code
- MyProject.Core.Tests: Test project for unit tests
- MyProject.Droid: Android UI project
- MyProject.iOS: iOS UI project
Manual setup
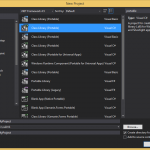
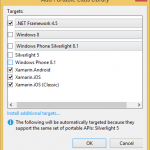
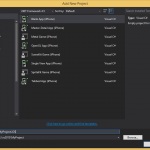
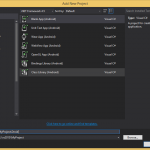
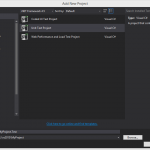
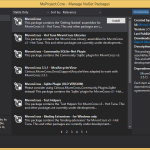
Unfortunately the NinjaCoder plugin does not always work as expected (at least in my case), that’s why it can make sense to set up the projects yourself by hand. To do this, create a Portable Class Library (PCL) project and add the UI projects to your solution. Afterwards add NuGet packages and MvvmCross manually with the NuGet package manager. If all is set and done, you need to link the PCL project to your UI projects, so that they have access to the common code in it.
What we have done so far
In this article we have installed the right tools and set up a solution with a PCL project, two UI projects and a test project. This should be enough to get you started to build your own Xamarin app.